Multipeoples
A stackable injection molded toy
Design Intent
I wanted to create a toy for my niece that could be played with in multiple ways: as figurines and as building blocks. To cultivate her creativity I wanted my toy to have multiple interactions and constraints. From here, my niece could combine these possibilities to create something entirely unexpected. I found the project to be especially suited for injection molding because I could easily manufacture the large quantity of figures necessarily to build satisfyingly-sized structures.
Countless Combinations
Early part sketch
Part Design
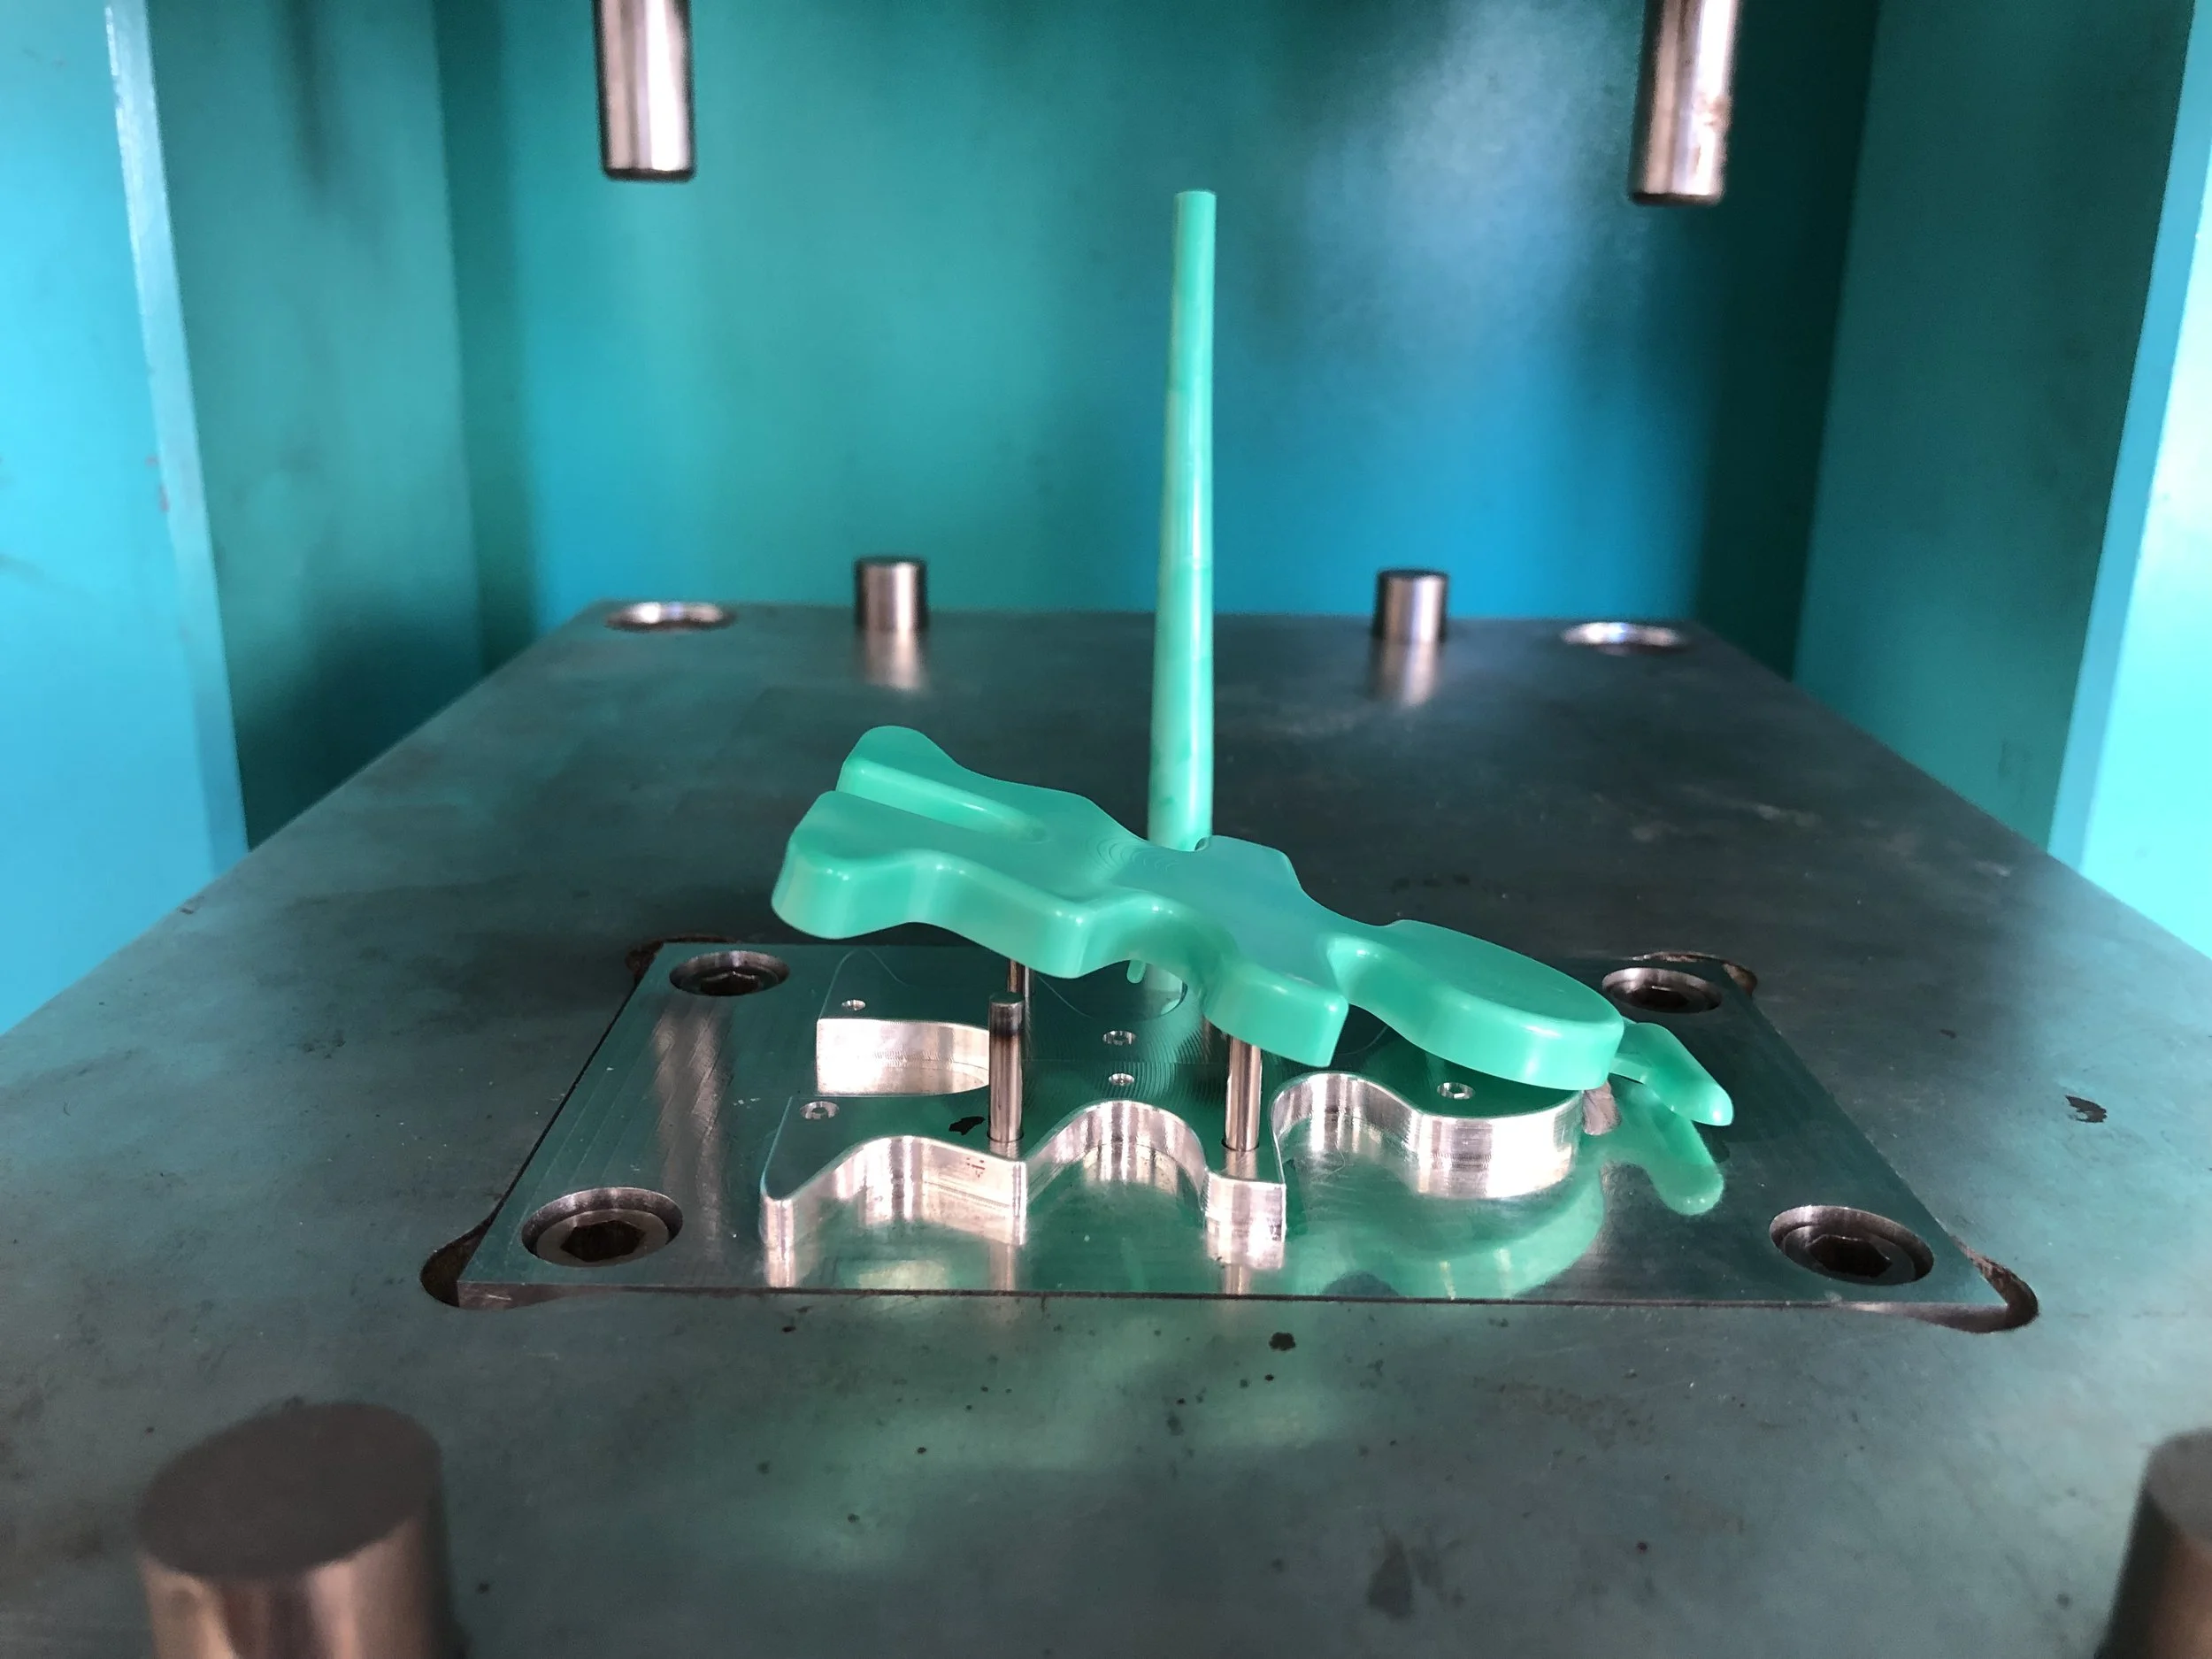
Each part is self-mating, requiring only a single mold to produce both halves of the assembly. To do this, I created rotationally symmetric pins/bosses.
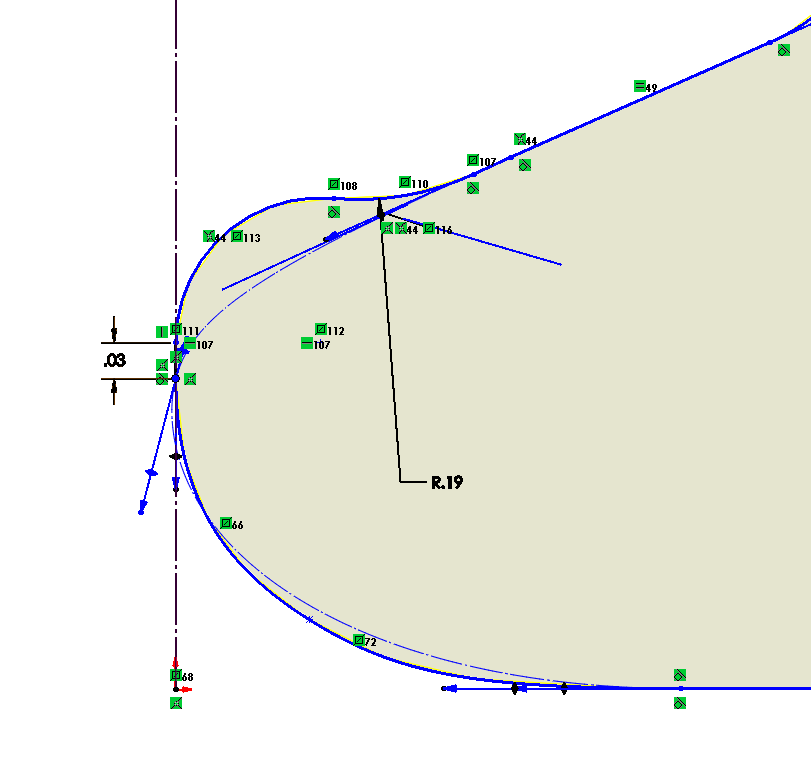
The wall thickness of the part was determined by the smallest tool I could acquire to reasonably create the small boss geometry. According to boss design guides, bosses should be 40-60% of the external wall thickness. With a 1/32” (0.03125 in) ball endmill to create the bosses, I chose an external wall thickness of 0.07”. This also gave my final parts a suitable strength for child’s play.
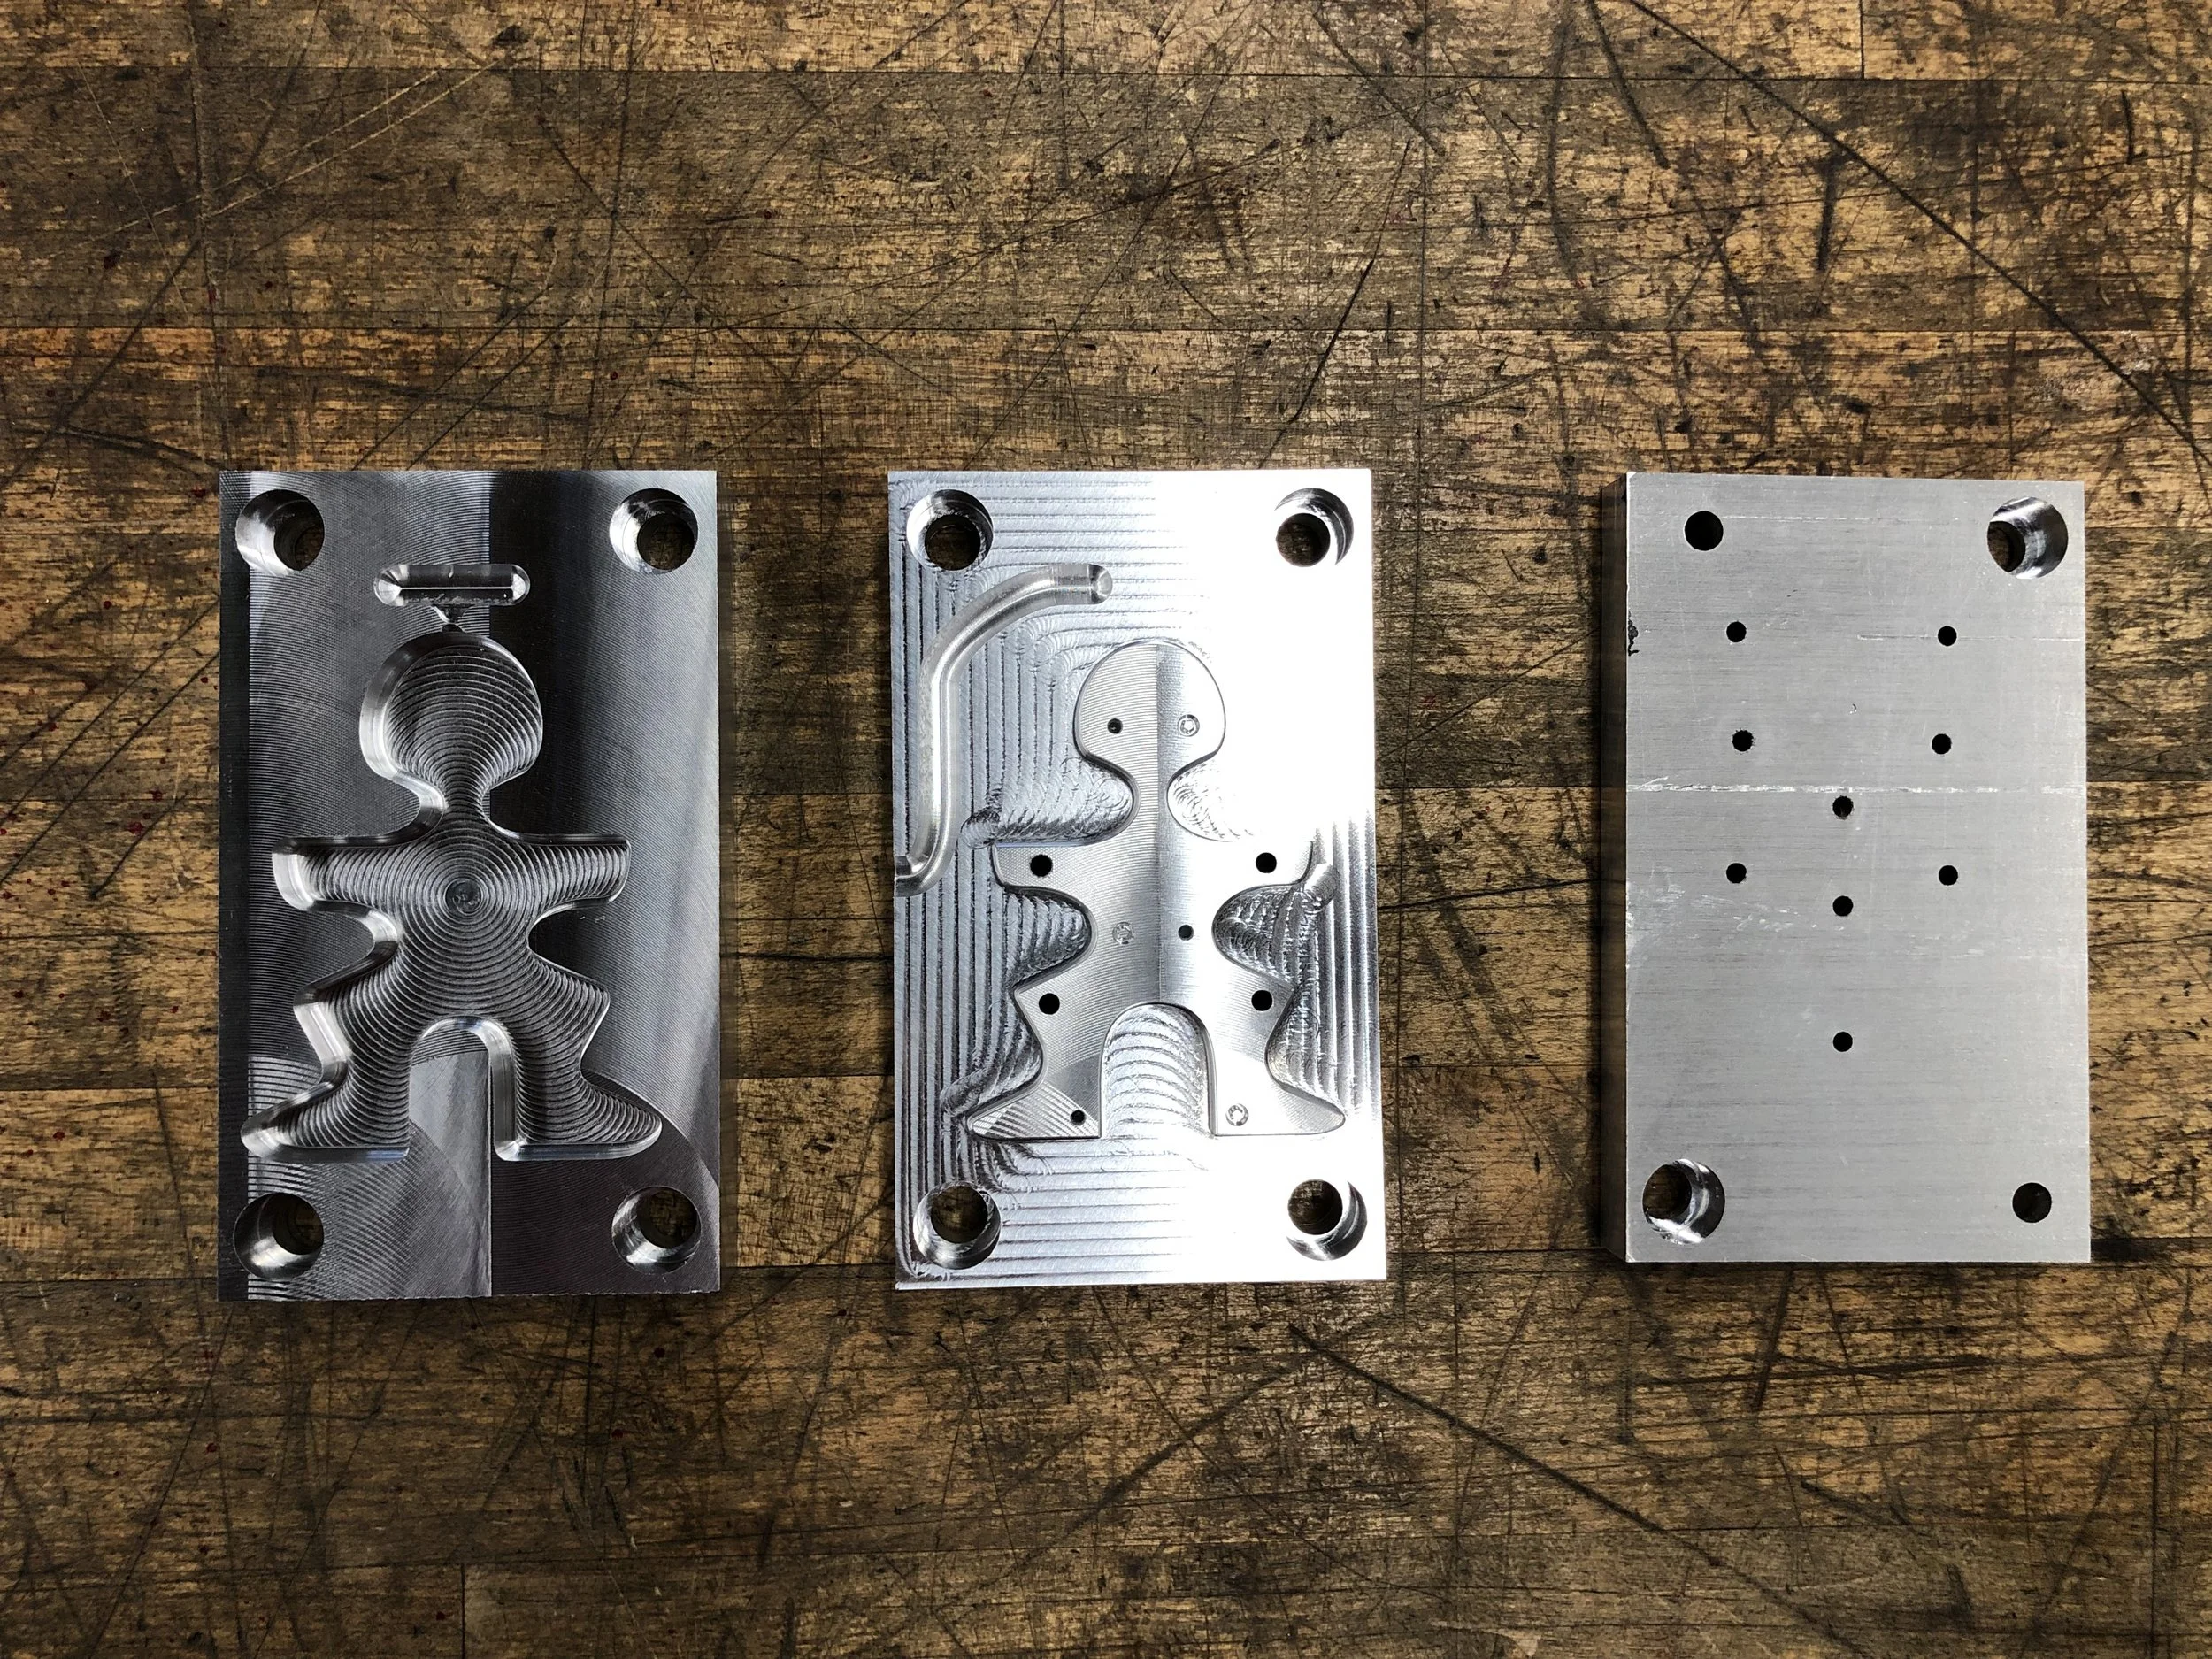
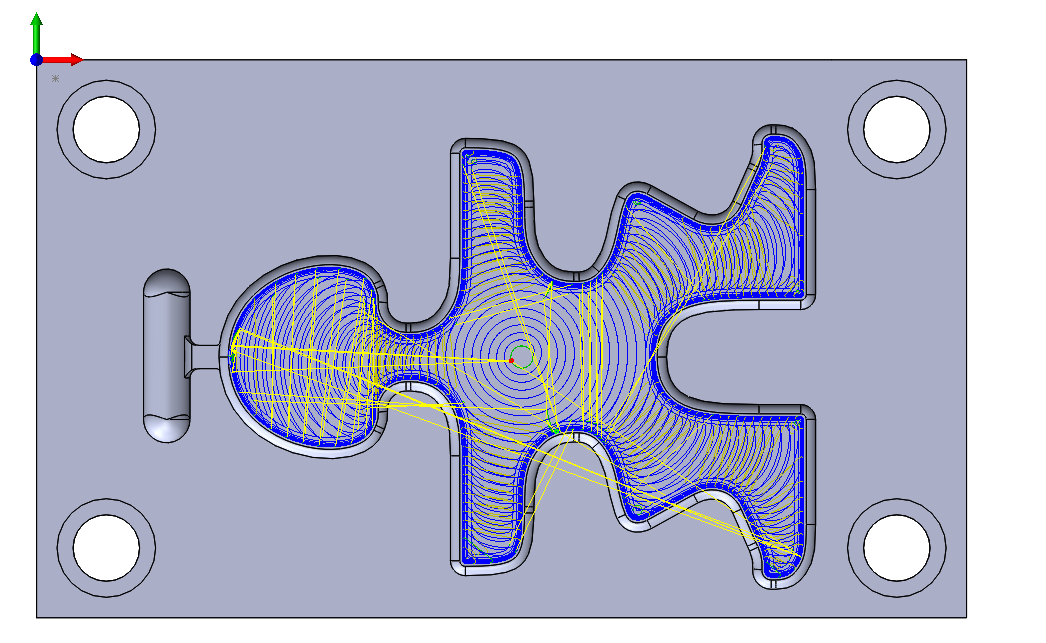
A-side: Cavity (left), B-side: Core (right)
Mold Design
To create the A-side and B-side of my mold, I used the SolidWorks cavity feature with reference to my part. Because the location of the runner was fixed in the PRL’s Arburg mold block, I created a runner that begins in the B-side only to transfer to the A-side to lead into the gate.
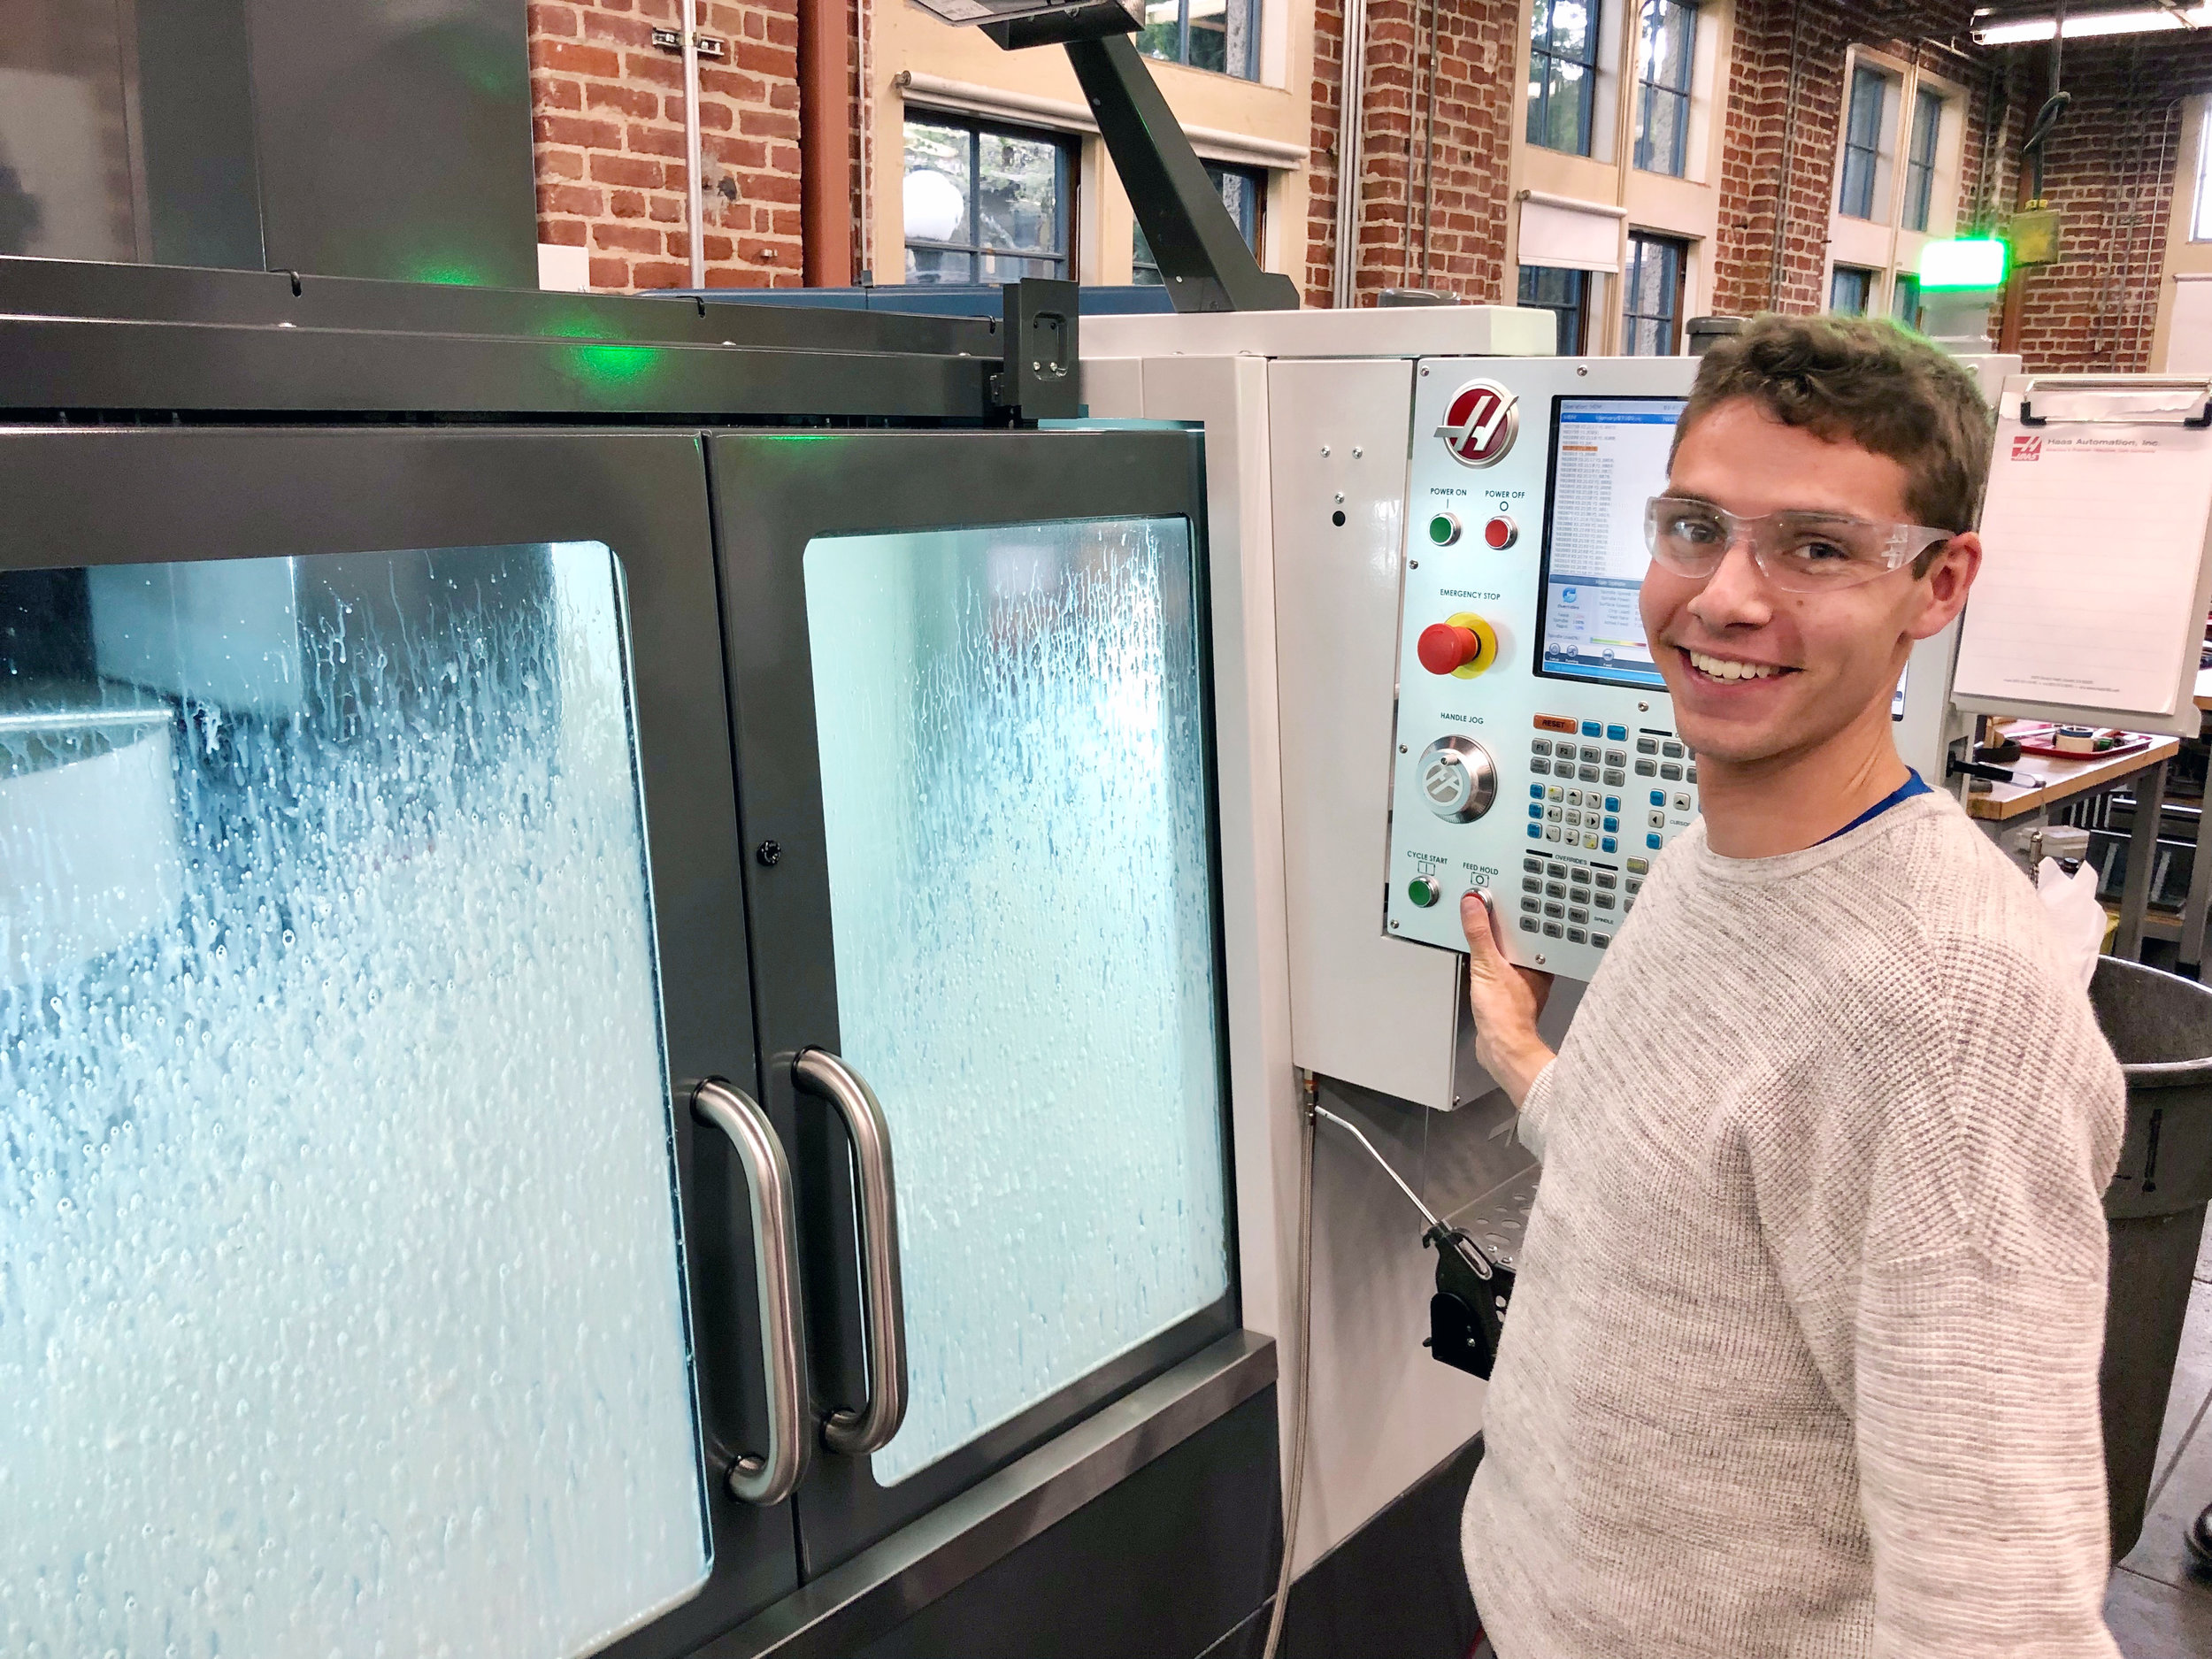
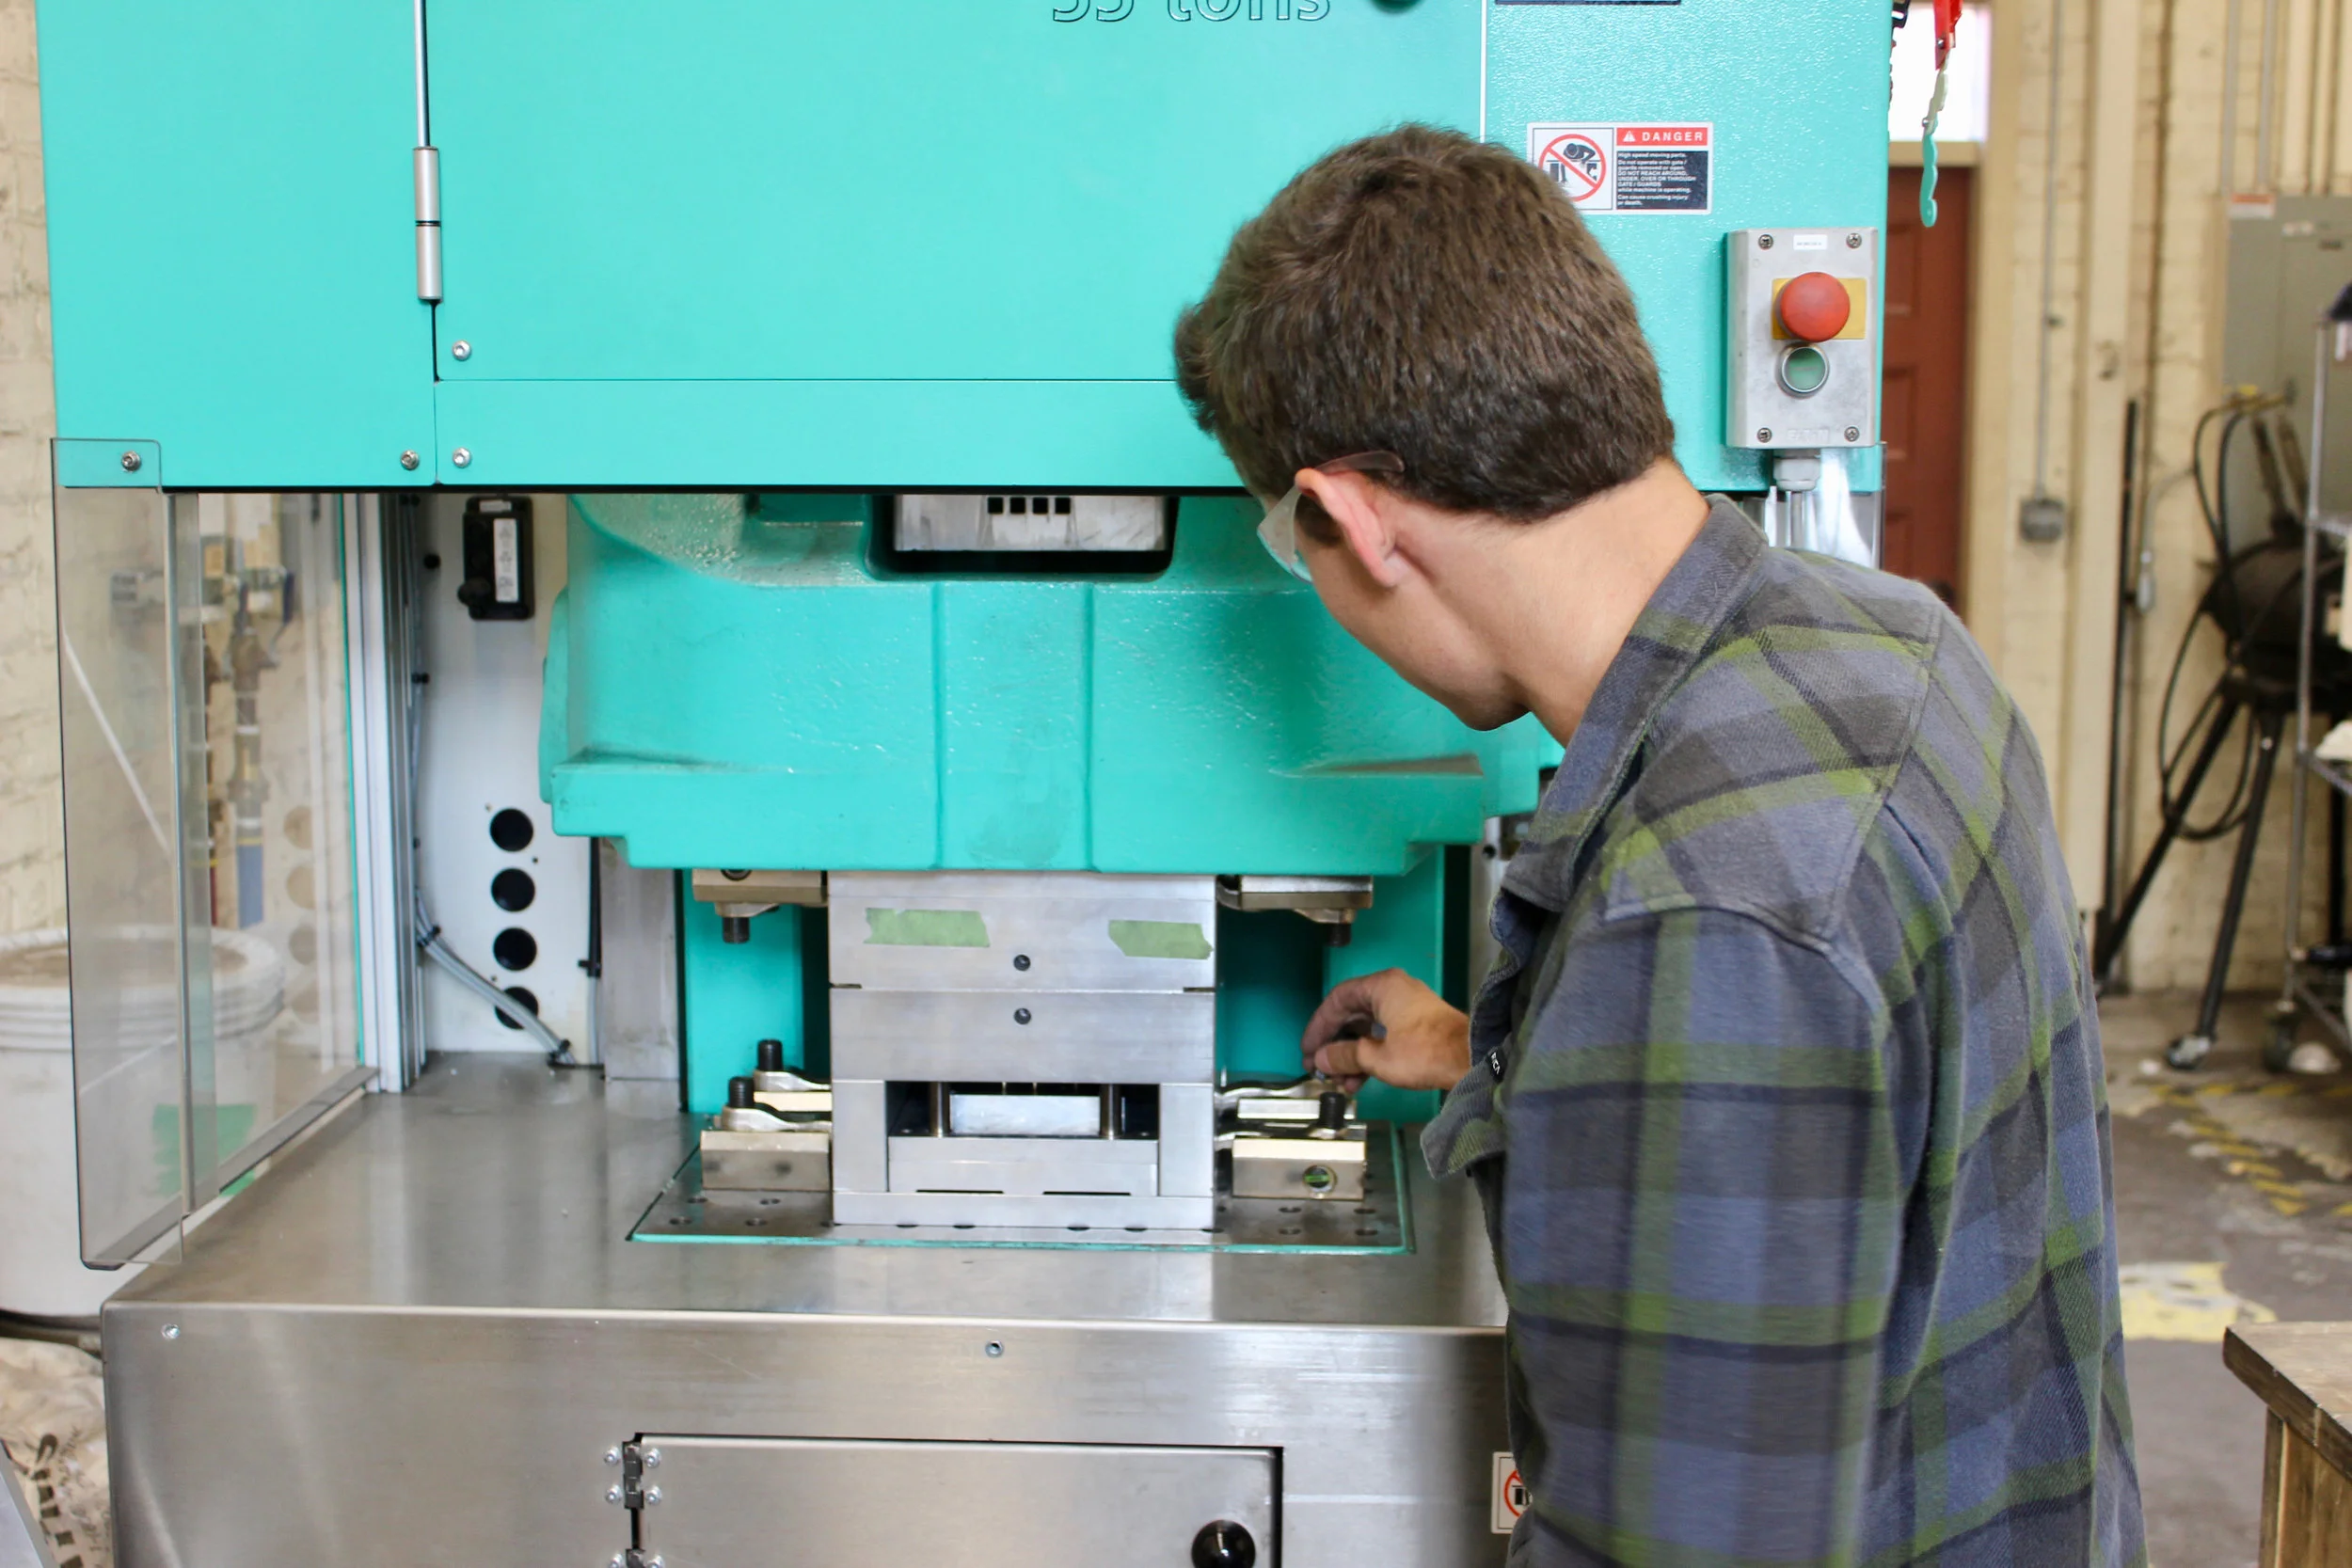
Machining and Molding
Course
ME 325: Making Multiples - March 2019
Processes
CNC Milling, Injection Molding
Materials
Aluminum, ABS


